Purchasing a Linux VPS through RackNerd
I got my Virtual Private Server (VPS) through RackNerd. I was looking for the best bang for the buck and found a great deal on a Black Friday sale. I was able to get a very low-end VPS for less than $2/mo. with an annual purchase. This is not just an introductory rate from RackNerd, it is also your annual renewal cost. You can shop around yourself, but if this sounds good to you, check out their latest prices.
Prerequisites
Before you start, you should have:
- A Linux VPS (this article assumes Ubuntu 24.04) with an IP address and the initial root login details from your provider. If not, see below.
- A working internet connection and a terminal you can use: PowerShell or Windows Terminal on Windows, or any terminal on Linux or Mac.
- A basic comfort level typing commands and copying/pasting text. You do not need to be a Linux expert; we’ll walk through each step.
What you’ll have at the end
By the end of this guide, you will have:
- Logged into your new VPS and installed the latest security updates.
- Created a non‑root user with sudo so you don’t have to log in as root anymore.
- Moved SSH to a custom port and disabled direct root logins over SSH.
- Set up SSH key authentication from your computer to the server.
- Completely disabled SSH password logins so only trusted keys can access your VPS.
Gather your login information
RackNerd will email you your IP address and initial login password. With that, open a terminal or PowerShell prompt to get started. We will use SSH to access our remote server.
First login
Log in with your root account and password.
ssh root@[ip-address]Check for updates
apt update
apt upgrade
Adding Ubuntu Pro
If you don't already have an Ubuntu Pro account, you can get a free account that lets you have up to 5 servers on the account.
What is Ubuntu Pro?
Ubuntu Pro is an add‑on subscription for Ubuntu that gives you optional extra security coverage and longer support for your system, on top of the normal free updates.
With a personal (free) account, you can enable Ubuntu Pro on up to 5 machines and get security patches for many more packages (including those from the “Universe” repo), extended support for up to 10 years on LTS releases, and access to Livepatch so many kernel security fixes can be applied without rebooting.
Rebooting the server
You don't often need to reboot Linux servers, but it's good to know how to do it. The following command does an immediate reboot of the server without asking for any further confirmations, except maybe your password. When you run reboot, Ubuntu performs an orderly shutdown and then starts the system again from scratch.
rebootCreating a non-root user
We want to add a standard user that we will use on a regular basis, rather than always using root. I am using kevlin as my new standard user. You are welcome to use your own made‑up username. On Ubuntu it’s traditional (and the default rule) to use all lowercase letters, and you can include numbers, hyphens, or underscores as long as the name starts with a lowercase letter.
adduser kevlinYou will be asked for a password for the new user. Pick a strong password that you can remember or write down. Optionally add a Full Name when prompted. You can just hit enter through the rest of the prompts. They are optional.
Now we will add this user to the sudo group, which is used to elevate permissions when we need them. The name ‘sudo’ comes from the su command (historically ‘superuser’, now often read as ‘substitute user’) plus ‘do’ — roughly ‘do this as another user (usually the superuser).’
adduser kevlin sudoLogging in as the new user
In a new terminal tab or window on your local computer, let's test the new user by logging in as them.
ssh kevlin@[ip-address]Hardening our server
Changing the default port
We will start securing our server by changing the SSH port from the default 22 to something more random. This is a good time to keep two SSH shells open, one still using root and one with our new user. This is for our own safety in case we mess things up.
I will use a text editor called nano. We are going to edit the SSH configuration file and change the port number.
Since we, as a standard user now, do not have permission to edit system files, we are going to use the sudo command at the beginning of our regular command. This will prompt you for a password (your standard user password) and will grant us permission to edit the system file.
sudo nano /etc/ssh/sshd_configNotice that about 10 or 11 lines down there is an Include line. Include /etc/ssh/sshd_config.d/*.conf This line includes any config files in the specified folder. These are read and included in this configuration. We will be modifying one of these files later on. For now, we will change the Port from 22 to a different number. We do this because port 22 is the default port for SSH and so it is easier to guess and hack. Choose a port of your choice above 10000. I will choose 44022. I like to end mine in 22 so I only have to remember the first few numbers. I have no problem remembering 22, since it is the default port.
Note
Many hosting companies provide an external firewall or ‘security group’ layer in front of your VPS. Depending on the provider, these may default to only a few open ports (often SSH and web ports). If you can’t connect on your new SSH port, check your provider’s control panel to see if there’s a firewall or security group you need to update. As of this writing, on my RackNerd VPS there is no provider‑managed firewall layer blocking non‑standard ports by default, so I only needed to adjust the SSH config on the server itself.
On the Ports line, remove the leading # to uncomment out the line and change the port number to your number of choice. (nano is pretty easy to figure out. Use DEL and Backspace and arrows like in common text editors.) To save the file, use CTRL+S and then to exit nano use CTRL+X. (If you get a message saying permission denied, make sure you used the sudo command for proper permissions.)
Now, for the new settings to take effect, we want to restart the SSH service.
sudo systemctl disable --now ssh.socket
sudo systemctl restart ssh
You should not see any output from the command. Your current SSH sessions on port 22 will not be disconnected. Now, in a new terminal (again, for safety), let's try to log in at our new port. We specify the port with the -p parameter.
ssh -p 44022 kevlin@[ip-address]If all went well, you should be able to log in on your new port.
Removing root access via SSH
The root user is a known default user that can make your server easier to hack. Therefore, we are going to disable the ability to log into our server as root via SSH. Make sure you can log in as your standard user and that the sudo command is working for you before disabling root via SSH.
First test that you can still SSH into your server using root.
ssh -p 44022 root@[ip-address]It should ask for your password and you should be able to log in.
We will edit the sshd_config file again.
sudo nano /etc/ssh/sshd_configAbout 30 lines down is a setting called PermitRootLogin. We want to change this from yes to no. Save the file and exit (CTRL+S, CTRL+X).
For the new settings to take effect, we want to restart the SSH service.
sudo systemctl disable --now ssh.socket
sudo systemctl restart ssh
Now, when you try to log in as root, after entering your password you should get a message saying, Permission denied, please try again.
Adding an authentication key for logging in
The next thing we are going to do is add an authentication key so that we will eventually be able to log in via SSH without a password. That may sound insecure at first, but what we are actually doing is allowing us to login with a software key that will be stored on our computer. Once that is working for us, we will disable password logins via SSH to further secure our server.
We will first create an authentication key pair on our local computer. The public and private keys will both be stored on our local computer and we will add the public key to our server so it will recognize this computer in the future for password-less SSH login.
You do not need to specify a password to access your new key, but it is recommended. Then anytime you use the key, it will ask you for the password. Here is how you create a key pair on your computer.
ssh-keygen -N "My secret password" -t ed25519 -C "myComputerName"-N specifies the password for the key. Just leave this part off for no password. -t is the type of key we are generating. ed25519 is the default if you leave this parameter off. -C is for adding a comment. I usually just put my computer name in here. It is best practice to associate each key with one computer, though it can be used on multiple computers.
This will create two files in a sub-directory called .ssh of your home folder. The leading dot (.) in the filename may make the folder hidden, depending on your OS settings. You may need to show hidden files to see it.
In Windows, this will default to C:\Users\YourUserName.ssh and in Linux it will default to /home/yourusername/.ssh. (I do not have an Mac, but I think it is the same location as in Linux.)
You should find two files in that folder, id_ed25519 and id_ed25519.pub. id_ed25519 contains your private key that you do not give out to anyone, and id_ed25519.pub contains your public key that we will be copying to our server.
To prepare our server for this public key, we will make sure we are in the user's home folder on our server. On the server, type
pwdThis stands for print working directory. If you are not in your home folder (/home/yourusername) then you can type
cdand hit Enter to change to your home directory.
From your home directory, we will create a folder called .ssh. Type the make directory command below and then change to that folder.
mkdir .ssh
cd .ssh
If you are not sure you are in the .ssh folder, you can always type pwd to see what folder you are in.
From within the .ssh folder, we will create a new file to put the public key into.
nano authorized_keysAs the filename implies, we can add multiple keys to this in the future to log in from other computers.
We want to copy and paste our public key into this new file. Open the file id_ed25519.pub and copy the entire content (should be just one line) and paste it into the open file on the server. On a Windows computer you can usually just use CTRL+C and CTRL+V. I am not too sure how to copy and paste in the terminals for Linux and Mac at the moment.
Save the file and exit nano (CTRL+S, CTRL+X).
We now need to change another configuration in the SSH config file to allow us to log in via public keys.
sudo nano /etc/ssh/sshd_configScroll down until you find #PubkeyAuthentication yes and remove the leading # to uncomment the line. It should now read PubkeyAuthentication yes.
Save the file and exit nano (CTRL+S, CTRL+X).
Restart SSH again.
sudo systemctl disable --now ssh.socket
sudo systemctl restart ssh
We should now be able to log in to our server using the new authentication key. Let's test it. Open a new terminal windows and try logging in with the following command.
ssh -p 44022 kevlin@[ip-address]You may see a warning message since this is the first time you are connecting with this key. Are you sure you want to continue connecting? Type yes and hit Enter.
You should now see it prompting for a 'Enter passphrase for key' (if you set one), and it will list the key file and location. Enter the password for the key and press Enter. You should be logged in to your server. Note that if you did not assign a password to your key when you created it, you will immediately be logged into your server.
Removing password login altogether
The final hardening configuration in this article we will be making is to remove password login entirely for SSH. This means that without a private key, of which the server knows the public key, we will not be able to log into our server anymore. Because of this, make sure that you are able to log in with the key before disabling password authentication for SSH.
Once again, we will be editing /etc/ssh/sshd_config.
sudo nano /etc/ssh/sshd_configScroll down until you see the '#PasswordAuthentication' line. Remove the # from the beginning and change it from yes to no. It should look like this now: PasswordAuthentication no.
Save the file and exit nano (CTRL+S, CTRL+X).
BUT WAIT! There's more! This is where we also need to edit a config file in that 'Include' folder, namely /etc/ssh/sshd_config.d/50-cloud-init.conf
Note
On recent Ubuntu server installs, a file called /etc/ssh/sshd_config.d/50-cloud-init.conf is included from the main SSH config, and its settings can override what you put in sshd_config (for example, it may set PasswordAuthentication yes even if you turned it off in the main file), so we update both files to be sure the password setting is really disabled.
sudo nano /etc/ssh/sshd_config.d/50-cloud-init.confChange PasswordAuthentication yes to PasswordAuthentication no.
Save the file and exit nano (CTRL+S, CTRL+X).
Restart SSH again.
sudo systemctl disable --now ssh.socket
sudo systemctl restart ssh
Open yet again another terminal window. You should now be able to only log in to your server via SSH using the key on your computer. If you are successful with this, you can try renaming or moving he file id_ed25519 and try logging in again. You should immediately see "Permission denied (publickey)." Rename or return the file to id_ed25519 and you are good to go.
Any other computers you want to be able to log into your server from will need to have an authentication key setup and that public key copied to the ~/.ssh/authorized_keys file on the server under the home folder of the user who will be logging in. (~ just means the current user's home folder)
Conclusion
You now have a simple fairly-well-hardened VPS server to play with. As a reminder, I am not a security expert and I am only learning. You can verify these setting on other posts on the internet.
If you find any errors with this article or have improvements or suggestions for me, please let me know.
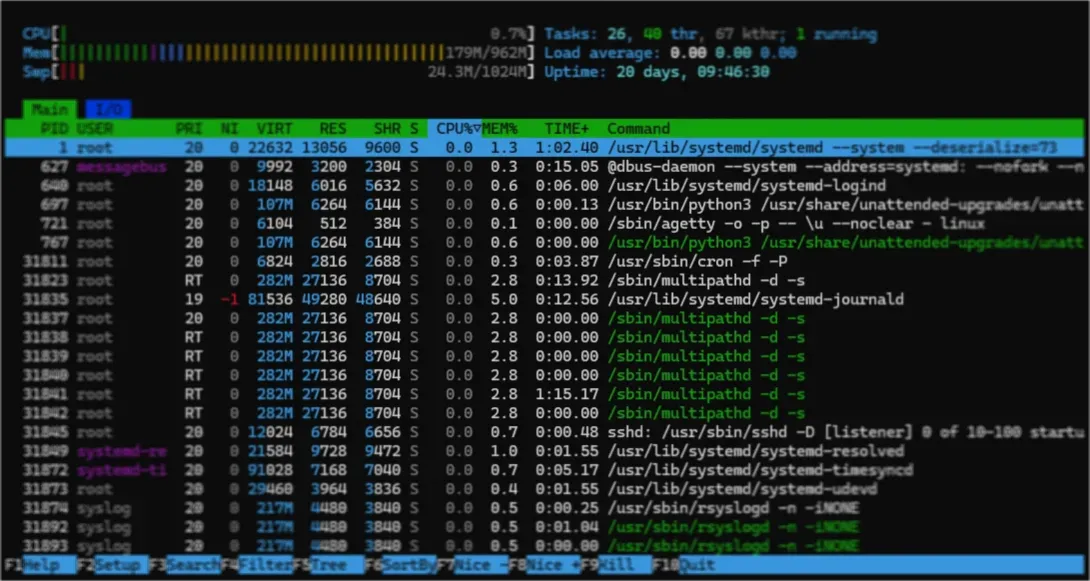
About the Image
Linux VPS running htop. (Clifton Foster 2026)
Add new comment